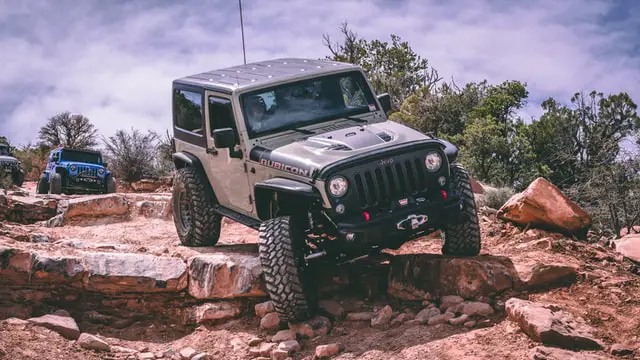
How to Install Bull Bar on Jeep Wrangler

When it comes to replacing your Jeep’s old plastic bench, there are a plethora of variables and factors to consider. Because a bullbar will dramatically transform the appearance of the Jeep’s face, we must consider design and aesthetics. Is your new bullbar suitable for off-roading as well as on-road driving?Some bullbars are only for protection and have no extra features, whilst others have fog lights, winch cradles, recovery points, mounting points for high-jack lifts, bash plates, and even hidden storage boxes.
Bull bar all day if possible. I think super long stingers are ridiculous, but a low to mid-rise bull bar looks decent and provides a platform for lighting and other extras. It’s also useful for wrapping your toe strap if it’s been in the dirt recently. You have a four-door, unless you plan on driving down the side of a mountain, you will have a hard time flipping a JKU ass over a teacup, it would have to be a really steep ledge. Get the bull bar.
Procedure
1. Remove the box’s contents. Make sure everything is in order. Carefully read all instructions. Cutting is extremely necessary.
2. Remove the splash guard from underneath the front bumper and set it aside on a clean, solid work area.
3. Beginning on the driver’s side, put (1) 12mm Double Nut Plate into the frame crossmember’s end opening. Match the Nut Plate’s lower threaded hole to the frame’s lower hole. Pick the Mounting Bracket on the driver’s side. (1) 12mm x 25mm Hex Bolt, (1) 12mm Flat Washer, and (1) 12mm Lock Washer put through the bottom hole in the Bracket, crossmember, and into the Double Nut Plate are used to secure the Mounting Bracket to the side of the crossmember. At this point, leave the hardware hanging.
4. Then, using (1) 12mm x 40mm Hex Bolt, (1) 12mm Flat Washer, and (1) 12mm Flat Washer, secure the driver side Support Bracket to the upper hole in the Mounting Bracket and (1) 12mm Lock Washer inserted through the Support Bracket, the upper hole in the Mounting Bracket, crossmember, and the upper hole in the Nut Plate. Snug the hardware in place, but don’t tighten it just yet.
5. Install the Mounting Bracket on the passenger side by repeating Steps 3–4.
6. Raise the Bull Bar to the Mounting Brackets with the help of others. Attach the Bull Bar to the Mounting brackets with the provided (2) 1/2″ x 2″ Hex Bolts, (2) 1/2″ Large Flat Washers, and 1/2″ Lock Washers, snug but not tight.
7. Using the provided (2) 10mm x 25mm Hex Bolts, (2) 10mm Lock Washers, (4) 10mm Flat Washers, and (2) 10mm Hex Nuts, bolt the forward end of the Support Brackets for the Bull Bar’s tabs on the outside.Snug the hardware, but don’t tighten it yet.
8. To secure the Brackets to the frame, align the Bull Bar correctly, then tighten the Bracket hardware. Removing the Bull Bar is a temporary solution.
9. Reinstall the splash guard and secure it using the factory hardware. Calculate how much cutting will be necessary to clear the Brackets and Bull Bar. Make a mark on the back of the splash guard where the mounting brackets will go.
NOTE: Only remove enough material to clear the Bull Bar and Brackets to keep the plastic Splash Guard in good condition. Before finishing the installation, make tiny cuts and double-check the fit.
10. Tighten all of the Bull Bar’s fasteners before reinstalling it.
11. Check the installation on a regular basis to ensure that it is safe and secure
Are bull bars hard to install?
The installation of a bull bar, grille guard, or push bar is straightforward and requires no special tools, so it will take you less than half an hour. On this one, you’ll have to take my word for it.
What is a Jeep bull bar for?
Bull bars provide enough protection while also allowing for the installation of supplemental lights through mounting tabs. What kind of person should invest in a bulbar? Bull bars are one of the most common forms of grille guards seen on aftermarket bumpers; they have a short tubular hoop that does not restrict visibility or performance of the Jeep.
How do you install a dual steering stabilizer on a Jeep Wrangler?
1. To allow the front wheels to turn, jack up the Jeep’s front end and place it on jack stands.
2. Use the provided U-bolts to secure the dual center bracket to the differential housing. At this point, don’t overtighten.
3. Install the 12″ X 212″ bolt/ washer on the bracket and tie rod,bolt cannot be placed after bracket has been installed) with the bracket offset to the inside. To keep the stabilizers from bottoming out during turning, the offset must be to the inside.
4. Use the 12″ X 212″ bolts/washers and stabilizers to secure the cover plate as illustrated. With a 3/4″ wrench on the stabilizers and a 9/16″ wrench on the axle bracket, level the center bracket horizontally and attach the fasteners.
5. Attach the stabilizer cylinders’ opposite ends to the tie rod bracket bolts that were placed in Step 2. Photograph 4
6. Adjust the drag link collar to relocate the pinch bolts away from the stabilizer cylinders on cars equipped with 2 1/2″ kits.
7. Slightly tighten all brackets and rotate the steering wheel. Adjust the tie rod brackets so that the stabilizer cylinders can fully extend their stroke. The tie rod mounts can be moved in or out to do this. After you’ve centered your brackets.
Best jeep wrangler bull bar stock bumper
- Jeep Wrangler (Hooke Road)
- Bumper for JK Stinger
- Bull Bar with Aggression
- LED Lights on Front Bumper
- LED Lightbar by Nilight